Intergrating github action CI and running your application as a system service in linux- Tested with Ubuntu
- Published on
- • 8 mins read•––– views

Introduction
As a developer, you would like to maximize your productivity by ensuring that you take the least time updating the application in the server to reflect the changes in your local environment. The easiest way is push your code to GitHub, to ssh into your server, go to your project repository, make a pull request from your server repository then restart the application. This process might be easy when you are starting out but will be annoying if you have to make multiple changes. I also encountered such a problem when managing multiple cloud hosted websites and application. One of the solution I leveraged is the use of GitHub actions to perform the pull request whenever I commit to master ( or any chosen repository). This helped me reduce the number of times I have to ssh into the server and perform the pull request myself.
However, after solving this part of the problem, I still remained with one major problem, downtimes. Every time the applications encountered a major error that crashed the application, I had to go back to the server and restart the application manually. To solve this problem, I decided to run my applications as system services so that they can be restarted whenever they are killed or the application crashes.
There are other better server options that can manage an application based on various needs. However, most of the available options I considered only had paid plans or took quite sometime to configure and monitor. Therefore, I prefer this option since its easy to get going.
This guide acts as a roadmap to the process I took to integrate GitHub actions in my web applications and the process of running the application as system service. Since the GitHub action depend on the system service, I will begin with the steps I took to run the application as a system service.
Running your application as a system service
These are the steps needed to run an application as a system service.
Create a system service file.
This will act as a configuration file that indicate how the service should run.
To create a configuration file, you can cd into your system configuration file locations. In Ubuntu, this is located at /etc/systemd/system/.
cd /etc/systemd/system/
The next step is to create a system configuration file. You can choose the name of the configuration file. However, it should be descriptive and represent the kind of service you are running.
nano syste_service_name.service
You can use any of your favourite text editor at this point.
After creating the service file, copy and past the following configuration template.
[Unit]
Description=Brief description of the service.
After=network.target

[Service]
User=the_server_username #To be changed example root
Group=www-data
WorkingDirectory=target/location/of/your/application #To be changed example /root/my_app
Environment="ANY_ENVIROMENT_NAME=environment_value_to_set" # Can be deleted or right environment set
ExecStart=the command that your service should run to start yiur application example # To be changed example waitress-serve --host 127.0.0.1 app:app
Restart=always
RestartSec=10

[Install]
WantedBy=multi-user.target
The part commented with "# To be changed" should be changed to the right values before saving the file.
Now with the configuration pasted and edited, we can save it and move to the next phase of the process.
Load the system service file and start the service
After saving the configuration file, we will need to load the service file so that we can start the service using the generated configuration file.
sudo systemctl daemon-reload
After loading the configuration file, we can now start the system service.
sudo systemctl start my_service_name
To confirm that the service was actually started, we can use status command.
sudo systemctl status my_service_name
After we have confirmed that the service is running as expected, we can enable it for auto-restart.
sudo systemctl enable my_service_name
Integrating GitHub actions
Upto this point, our application will run as a system service. This means that whenever the application is killed the system control will wait for a few seconds then restart it back up. This ensures that we dont have to go back to the server to restart the application. Now, we can intergrate github action to update the application whenever we push our code to the main branch. To achieve this, we will only need to create two folders and a file in our repository.
More on GitHub action can be found at GitHub action documentation.
To start, we can create a folder at the root of our repository (if you dont have it already) named .github. Inside the folder, lets create another folder named workflows. Then we can create our main.yml file (or any other name if you already have other files in the folder). After creating the main file, we can add the github action files that will ssh into our target server, update the code and restart the system service. In this case I am using linode server but it should work for any cloud server.
# This is a basic workflow to help you get started with Actions

name: CI

# Controls when the workflow will run
on:
  # Triggers the workflow on push or pull request events but only for the "master" branch
  push:
    branches: [ "master" ]
  pull_request:
    branches: [ "master" ]

  # Allows you to run this workflow manually from the Actions tab
  workflow_dispatch:

# A workflow run is made up of one or more jobs that can run sequentially or in parallel
jobs:
  # This workflow contains a single job called "build"
  build:
    # The type of runner that the job will run on
    runs-on: ubuntu-latest

    # Steps represent a sequence of tasks that will be executed as part of the job
    steps:
#       kill -9 `lsof -i:5000 -t`
      # Checks-out your repository under $GITHUB_WORKSPACE, so your job can access it
      - name: sshing into linode server
        uses: appleboy/ssh-action@master
        with:
          host: ${{ secrets.HOST }}
          username: ${{ secrets.USERNAME }}
          password: ${{ secrets.PASSWORD }}
          script: |
            cd
            cd ${{ secrets.REPOSITORY_FOLDER}}
            git pull origin master

            systemctl restart ${{ secrets.SYSTEM_SERVICE_NAME}}
As you can see, some steps uses secrets to populate various parts of the scrypt.
Creating GitHub secrets
It is not a good practice to have sensitive information pushed to GitHub. To mitigate this problem, GitHub provides secrets and variables that can be called from GitHub actions without revealing the details. This also helps in cases where you need to change a value of a variable but cannot go to all instances where the variable is used to make the changes. Changing the value of the variable from secrets ensures that whichever file used the variable will pick up the updated value. To succesfully run our github actions, we will need to set the secrets for the repository.
- First step is to log in to your GitHub account and go to your repository.
- Go to settings of the target repository.
- Scroll down to secrets and variables on the left.
- Click on actions
- On the right, click on new repository secret
- Enter the name of the secret for instance HOST to represent the host as used in the yml file.
- New enter the value of the secret, which will be the public IP address of the server.

Repeat the same process for all the secrets that you will need. In our case, we need the following:
- HOST
- USERNAME
- PASSWORD
- REPOSITORY_FOLDER
- SYSTEM_SERVICE_NAME
Now we can push our updated repository to GitHub. After pushing the repository, we can go to our repository on GitHub and check if the action run successfully. The action is normally named as the commit message.
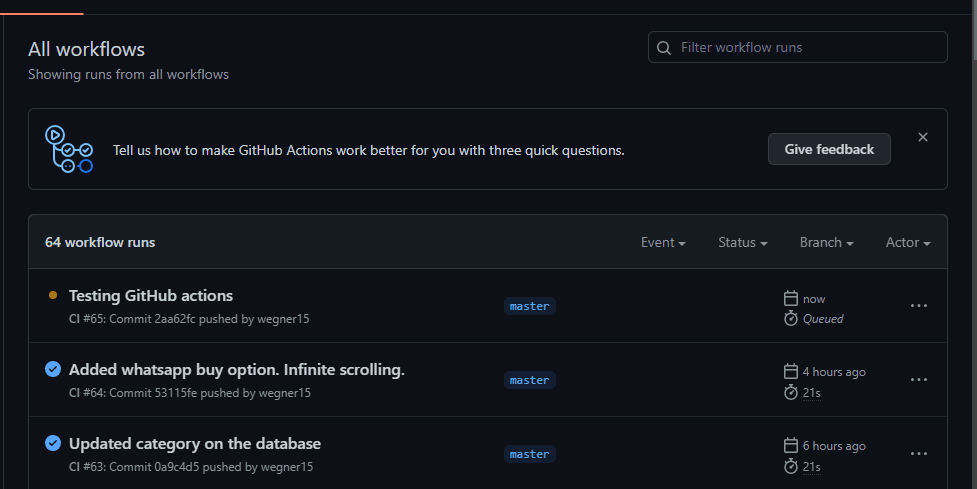
Then it will be executed.
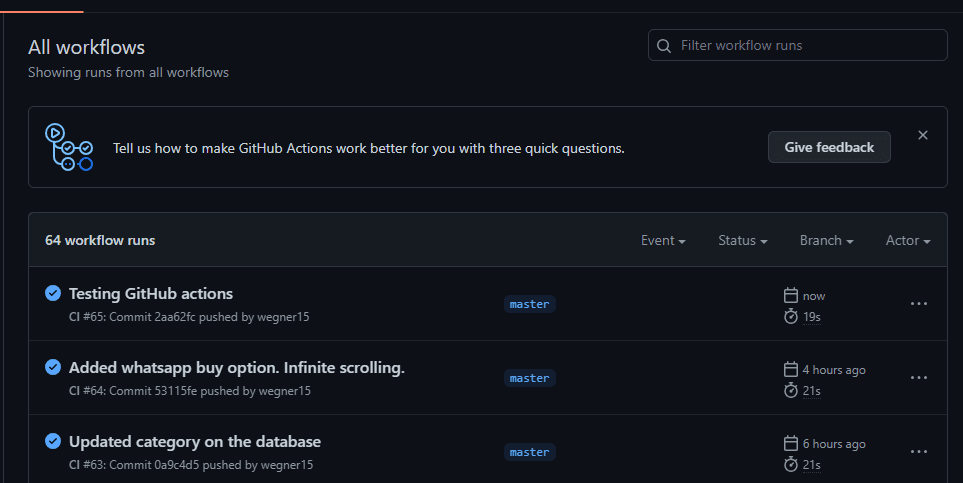
Now we can sit back relax and enjoy the development process.